Showing posts with label free printable. Show all posts

Saturday, February 28, 2015

Max's Batman Party

Max started talking about his "batman party" long before any party planning had begun. It seems like that is how it goes around here. My kids get so excited about their birthday parties and almost always have a clear vision of what kind of theme they want it to be. Then I get to make it all happen for them! Max knew he was having a batman party, however he did NOT know that Batman was coming to his party! The look on all the kids faces when Batman walked in was priceless. There was total chaos, with kids running and screaming through the house...then complete silence with their jaws open wide! The kids had a blast completing Batman Training and played other fun games with him out in the yard. 
We also did an obstacle course for the kids to complete with these 6 stations: 
1. Run through a city ( The kids knocked over large boxes painted black with yellow squares that were stacked up to look like a city)
2. Superhero "pops" (The kids jumped on large sheets of bubble wrap 5 times making popping sounds)
3. Climbing through lazers (They climbed through strands of rope without touching it)
4. Shooting the bad guys (They sprayed silly string at pictures of Mr. Freeze)
5. Super hero smash power (Using Hulk's hands and Thor's hammer the kids each got to smash 3 ice cream cones)
6. Super hero punch power (At the end of the obstacle course the kids each got a prize from the punch box. To create a punch box you take an empty box and cut circles into it, line the circles with tissue paper. Then using small paper bags you tape a bag behind each hole with a prize inside! The kids punch through the tissue paper to get their prize! They LOVED it! You can see some pictures below.

Max still talks about his "Batman Party", which brings a smile to my face.


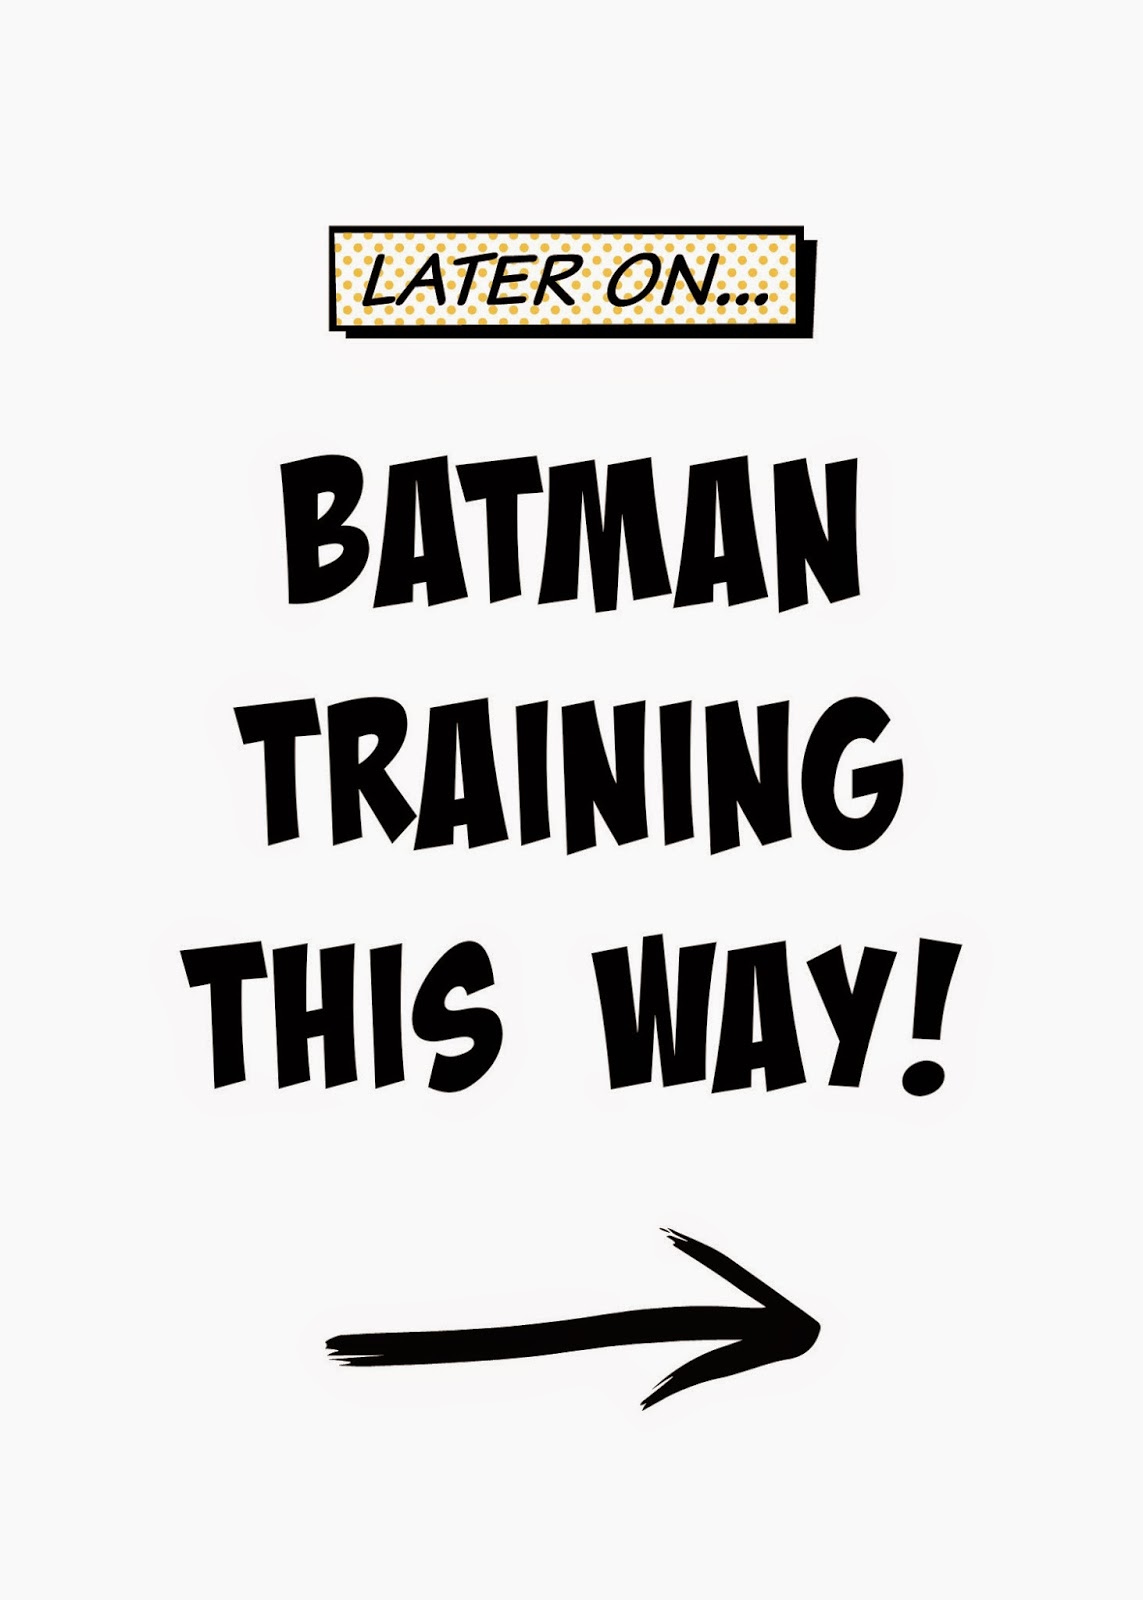
Several of the printables that we used at the party are available below:


SOURCES:


Monday, November 11, 2013

Piper's 1st Birthday

 Can't believe our sweet baby girl is already ONE! The year has flown by, and I think I say that every year when the kids have a birthday. We were planning to have a small dinner party for Piper's birthday with family and close friends. However, the plans changed when Hudson came down with the stomach flu that morning. It was a bummer we didn't get to celebrate with friends and family, and eat all of the food that had been bought and prepared. However, Piper didn't know the difference! I did still take some pictures that I wanted to share. It was fun to plan a party with pink this year! 


 I made mini carrot cake cupcakes and a pink ruffled cake. You can find a tutorial for the pink ruffled cake HERE. I used striped paper straws and yellow tissue paper to make little candles for each cupcake. Also perfect for the birthday girl's cake!

 Made a yummy apple cider sangria, recipe HERE.
Perfect adult drink for a Fall party!

We went with the "mini" theme for her 1st birthday.
These mini crab apples were perfect! Found them at Fry's.
We also made mini meatball sandwiches for dinner.

 Put together a large veggie bowl full of "mini" cucumbers, peppers, carrots, and tomatoes.
I filled the bottom of the bowl with grocery bags and paper towels to keep the veggies up higher in the bowl. I was inspired by the veggie bowl served at True Food!

For the centerpieces I decorated with gold mason jars, pink and peach florals, white and gold pumpkins, and succulents.


I bought the sweet handmade crown for Piper to wear on Etsy from Tilly Tilda.

 Made this tissue paper tassel garland. You can find a tutorial HERE.

I bought some pretty tissue poms from Petite Party Studio in down town Gilbert. I plan on reusing these by hanging them in Piper's room.

For party favors I made homemade play dough (recipe HERE) in three colors. I placed three rolled balls of each color in small mason jars and sprinkled with gold glitter. I used a free printable from Tomkat Studio, HERE.

Happy 1st Birthday sweet Piper!

Friday, February 3, 2012

Homemade Bubble Valentine


Here is a kids valentine idea that is something other than candy. A bottle of bubbles (can be store bought or homemade) with a homemade heart bubble wand. The bubble wand I made from a pipe cleaner and a paper straw. It's amazing the things you begin to use paper straws for when you look at them everyday! If you are looking for paper straws you can find some in my shop HERE. I also have four different printables available below.


 You can use store bought bottles of bubbles or fill small plastic jars with homemade bubbles. I colored my bubbles with food coloring. Just add a drop of food coloring, tighten the lid, and shake. You can find the "BUBBLES" label below, along with three labels options for the tops of the jars.

 To make the Valentine's you will need the following:
  • Bubbles in jars
  • Labels printed on sticker paper
  • Pipe cleaners
  • Paper straws
  • Baker's Twine
  • Scotch tape
  • Scissors
 First cut your pipe cleaners and paper straws in half. You can make two wands from one of each.

 Next bend the one end of the pipe cleaner around to make a circle and wrap end around pipe cleaner to hold in place. Then bend the pipe cleaner to create a heart shape.

 
 Then push the pipe cleaner into the paper straw.

 Use a small piece of tape to hold the bubble wand to the back of the bubble jar. Then tie with twine. I tested these out with Hudson and the paper straw does start to come apart after sitting in the bubbles for a while. But I think it adds a cute touch to the bubble want. You could make these without the straws too, and you can make small little bubbles by just dipping the end of the straw in the bubbles. 
I also made some bigger wands by not cutting the straws and pipe cleaners in half.


 Linking up HERE!

Thursday, January 12, 2012

Free Printable Drink Flags

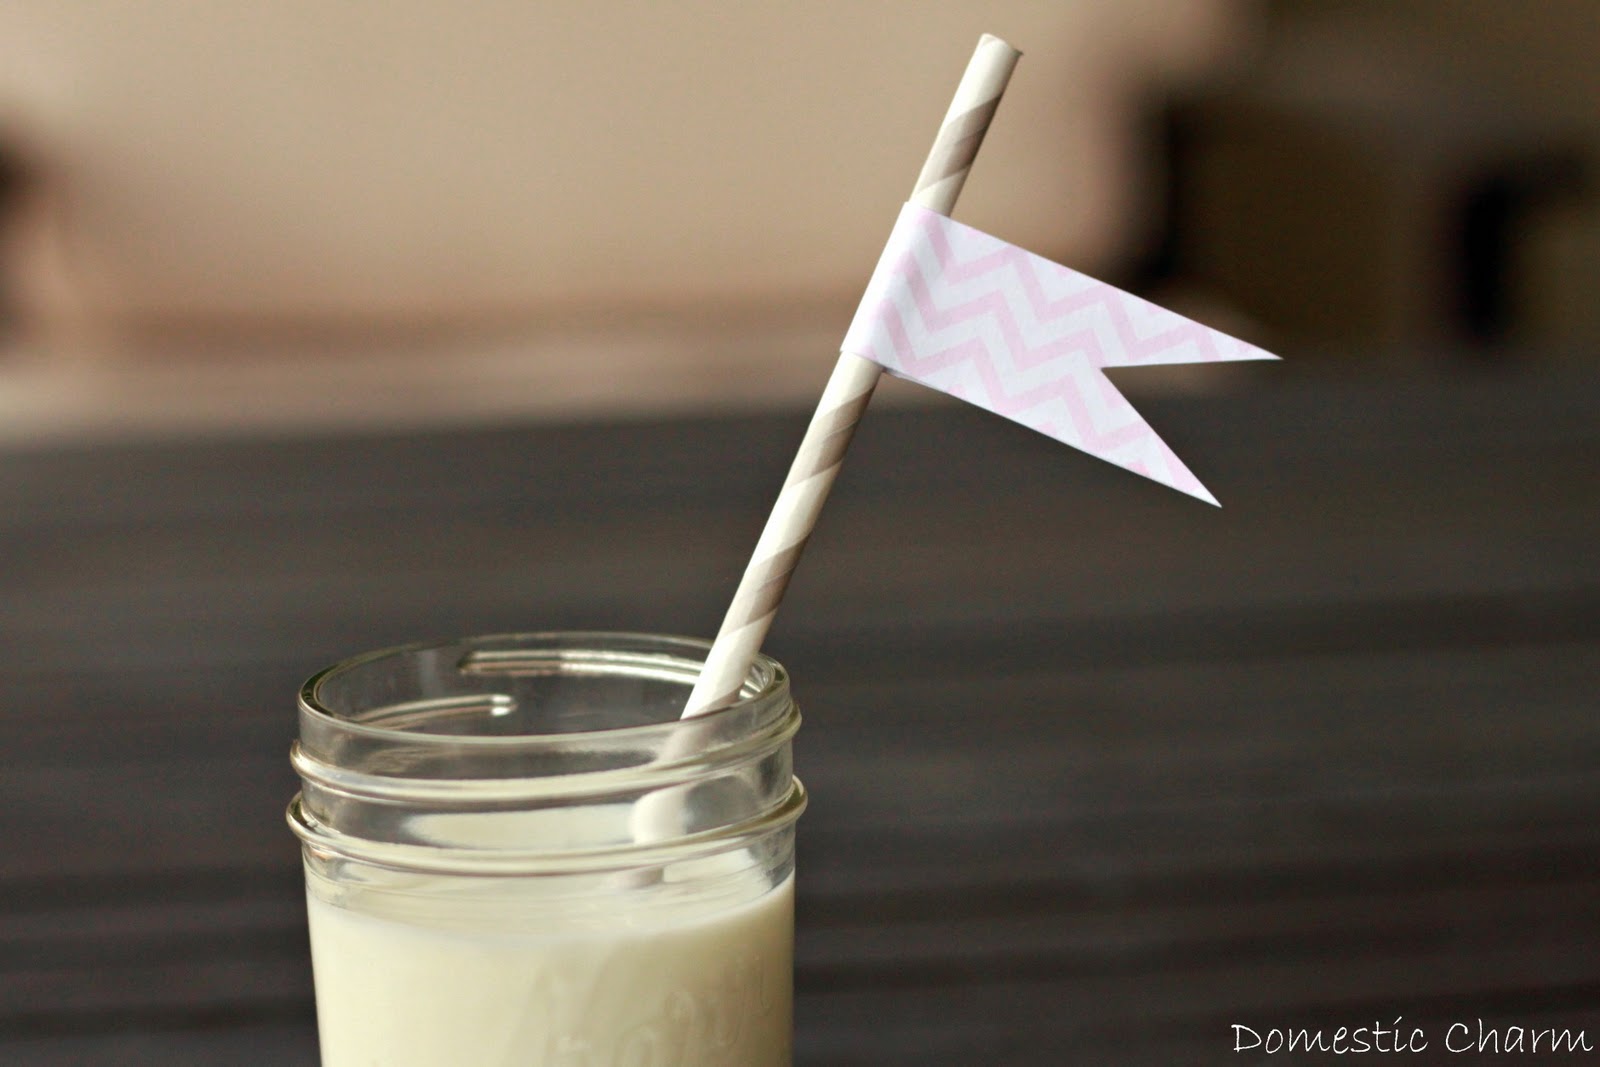
 I now offer free printable drink flags with the purchase of paper straws in my shop. The drink flags come in a pdf file that is e-mailed to you and can be printed at home. There are 24 different chevron colors available. I also offer a blank pdf file if you would like to print it on your own patterned or colored paper. The paper straws come in 22 different colors and designs.
You can visit my shop for more information.

Print the pdf file on a 8 1/2 x 11 piece of light to heavy weight card stock or photo paper. Cut out each drink flag.

 Wrap the flag around the straw and secure using a small amount of glue or tape. Let dry if using glue.