Sunday, December 11, 2011

Christmas Giveaway


Christmas Party Supplies Giveaway Prizes:

  • 25 Paper Straws in Grey and Red
  • Peace Mini Bunting Cake Topper
  • 50 yards of Red Bakers Twine
  • 12 Red Polkadot Cupcake Wrappers

Enter the giveaway below using Rafflecopter!
Giveaway Ends Wednesday, December 14th
Items will be shipped priority mail as soon as winner's address is provided so that items will arrive the week of Christmas.


Friday, December 9, 2011

New Paper Straw Colors


 Paper straws are now available in 22 colors/designs. Please visit my Etsy shop to place an order!

Homemade Christmas Ornament

 I wanted to do a Christmas craft with Hudson and thought it would be fun to help him make an ornament for our tree. I got the idea from Parent's Magazine here. They have so many great craft and Christmas ornament ideas! The one that they made has penguins in the "snow globe" made from pipe cleaners. It was really cute, I just didn't have any pipe cleaners. So Hudson and I made a snow globe ornament with a Christmas tree in it and a North Pole sign.
Here is what you'll need to make this one:
  • 1 Small clear plastic cup
  • Stiff felt for base and sign
  • Red bakers twine
  • 1 Red stripes paper straw
  • Green tulle
  • 1 Lollipop stick
  • Silver glitter
  • Tacky spray glue
  • Scissors
  • Pen
  • Thumb tack, to poke hole in cup

 First trace around the top of the plastic cup on a piece of the stiff felt. Then cut out the circle slightly larger then the line so that the cup will fit on the felt. 

 Next using the thumb tack poke a hole in the bottom of the cup (the top of your ornament). My plastic cup cracked a little at the top, but it didn't really matter. Fold your piece of twine in half and thread through the hole. Tie a knot so the twine won't come back through the hole. You should now have a loop to hang your ornament like in the picture.

 Next cut your paper straw so it will fit inside of the cup. Then cut a small rectangle of felt and write North Pole on it. Glue the sign around the top of the striped paper straw.

 Next cut pieces of tulle and begin to tie them around the lollipop stick. Don't worry about what it looks like with the length of the tulle because you will just trim it with scissors. You may need to cut the lollipop stick shorter. Once it is covered in tulle trim the tulle so it is shaped like a tree. We wrapped a small piece of silver pipe cleaner on top.

 Then you can glue the tree and North Pole sign onto the stiff felt. Make sure it is centered so that the cup will fit over top. 

 Then place your tree in a box (so glitter doesn't get everywhere) and spray with the tacky glue. Sprinkle with glitter and shake off any excess. Then glue on the cup and let it dry before hanging.

 A lot of this craft required me getting it ready for what Hudson was able to do or helping him do it. But, we still had fun making it together! An older child would be able to do much more of this on their own. 
But for the little ones they can still:
-Help cut the felt
-String the twine through the hole
-Cut the paper straw
-Cut pieces of tulle
-Hold lollipop stick while you tie tulle
-Help trim the tulle tree
-Sprinkle with glitter!


Linking up HERE!

Handmade Gift Ideas

 Teacup Candles via Martha Stewart

Tile Coasters via Curbly

Handmade Ties via Purlbee

Quilted Playmat via Purlbee

Car Playmat via Homemade by Jill

Here are a few great handmade gift ideas if you're looking to make something for someone this year. Love all of these ideas! I am making a few felt car playmats, however mine will not be as beautifully detailed as this one by Homemade by Jill! Love all of the thoughtful details included on it.
The Purlbee has lots of other awesome tutorials for handmade items that would make great gifts!


Saturday, December 3, 2011

Cocktails and Cupcakes Bridal Shower

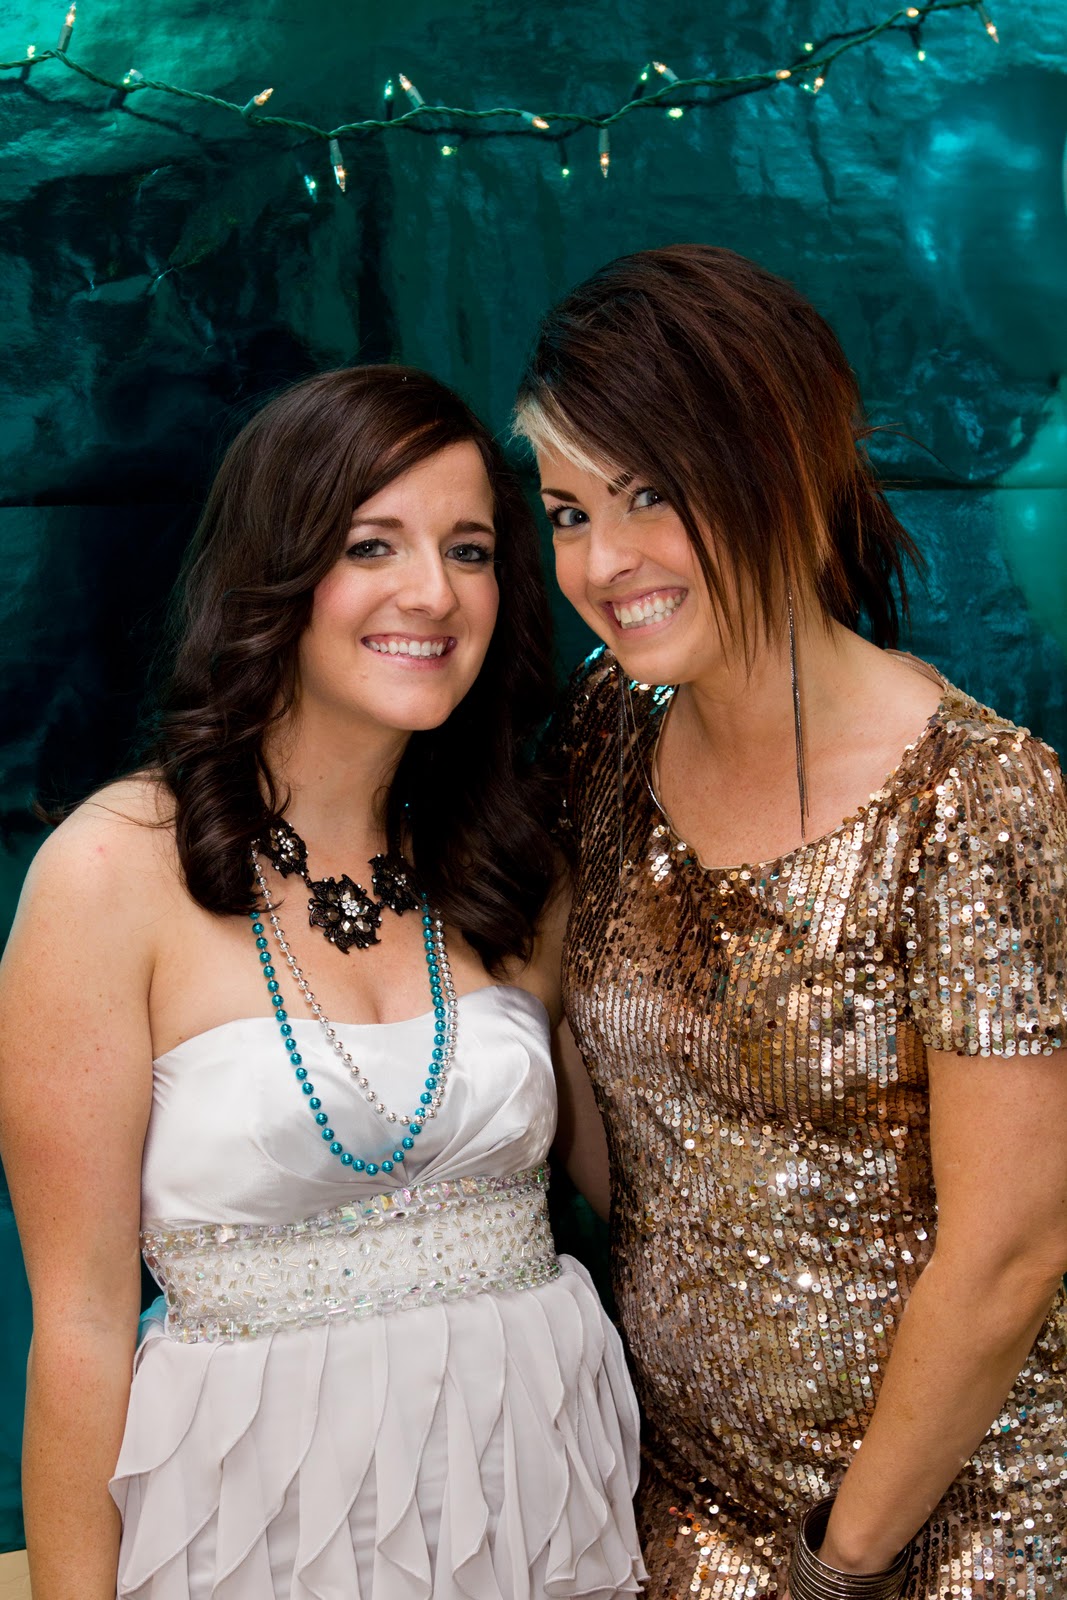
 Here is my beautiful sister Wesley!
She is getting married in about one month and I am so excited for her and Kyle. We had a lot of fun celebrating her the other night and I wanted to share some of the pictures. The pictures were taken by Andrea of Limeflower Studio. Thanks so much Andrea for capturing the night for us!

The Bridal Shower was an evening shower, for cocktails, cupcakes, and other desserts. All the girls came dressed in their best and looked awesome!

 Fun dessert table decorated with balloons, tissue poms, streamers, glitter cupcake wrappers, party bead necklaces, rhinestone confetti, candles, and party hats.


Yummy Mudslide Punch

We played the toilet paper wedding dress game. You divide into groups of about 4-5 girls and each group is given about 3 rolls of toilet paper to make a wedding dress. Each group must pick one girl in the group to model the dress. Everyone got pretty creative and had a lot of fun with it!
The Bride-to-be gets to choose the winner. 

 The other game we played was the Bridal Shower Trivia Game. I video taped Kyle (the Groom) answering 13 questions about Wesley (the Bride). Then at the shower you give the guests the questions to try to answer. Once everyone is done filling out their answers you play the video, but have the bride answer the questions before playing the grooms answer. It was another fun game that got lots of laughs! Whoever answers the most questions correctly wins a prize.

Then we all had fun being silly for pictures in the photo booth area I had set up. I bought teal wrapping paper and taped it to the wall.


 It was a great night, and loved celebrating my little sister... Next up Bachelorette Party!!!
Love you Wes!

Linking up HERE!

Friday, December 2, 2011

Sugar Scrub Party Favors

 For my sister's Bridal shower I decided to make each guest a small jar of sugar scrub as a party favor. I used baby food jars to put the scrub into, just spray painted the lids teal first. The sugar scrub was a peppermint sugar scrub, you can find the recipe below. To make the jars you will need he following:
  • Baby food jars, cleaned with labels removed
  • Spray paint
  • Address labels
  • Pipe cleaners or ribbon
  • Sugar scrub recipe (see below)
1. Once all of your baby food jars are cleaned remove the lids and spray paint the tops and sides the color you would like. Let them dry.
2. Next print your labels for the jars. If you're using the Avery address labels you can download the template online here, and easily enter your text. I created my text in picnic and inserted the image into the template. You can find and save my image below.
3. Make your sugar scrub and fill each jar. Wrap a pipe cleaner around each jar, or tie with a ribbon. 
4. Place a label on each jar and you're done.


Peppermint Sugar Scrub Recipe
  • 1 cup white sugar
  • 1/2 cup vegetable oil
  • 1 teaspoon of peppermint extract
  • 8 vitamin E liquid capsules (cut open and add gel)
Mix together ingredients in a large bowl. Fill each jar with sugar scrub. Recipe can be easily doubled to fill more jars. This sugar scrub is great to use on your feet.

Linking up HERE!

Thursday, December 1, 2011

Creative Gift Wrap Ideas

Decorate boxes with flowers made out of cupcake liners

Use doilies

Make paper or fabric monograms to tie to each gift

Put your little ones to work, making homemade wrapping paper

Easy to make fabric gift envelopes


Decorate boxes with different types and colors of yarns


I love all of these creative gift wrap ideas! You can find instruction for these and many others on Martha Stewart's website.