Here are 10 fun activities and crafts that you can do with and for your kids to celebrate Halloween!
Showing posts with label kids craft. Show all posts
Wednesday, September 18, 2013
Wednesday, September 11, 2013
Homemade Liquid Water Color Paint for Kids
I don't know about all of you, but we tend to go through our markers really fast. Either they dry out from all the coloring or lids get left off. Usually they get thrown in the trash, but here is a way to recycle and reuse them for a fun new craft!
My boys have been really into painting lately, so this was perfect free craft to do with them. There are also a couple different ways you can use the paints.
Sunday, June 30, 2013
Play Dough Volcano
Hudson made a play dough volcano with baking soda and vinegar at school last week. He wanted to make another one right when he got home! He is really into science experiments like this, and I've had to restock my baking soda and vinegar supply quite a bit lately!
You will need:
-Vinegar
-Red food coloring
-Baking soda
-Funnel
-Small water bottle
-Play dough, recipe here.
-Baking sheet
-aluminum foil
First line your baking sheet with foil.
Then use a funnel to place 3-4 spoonfuls of baking soda in the water bottle.
Next cover your water bottle with play dough.
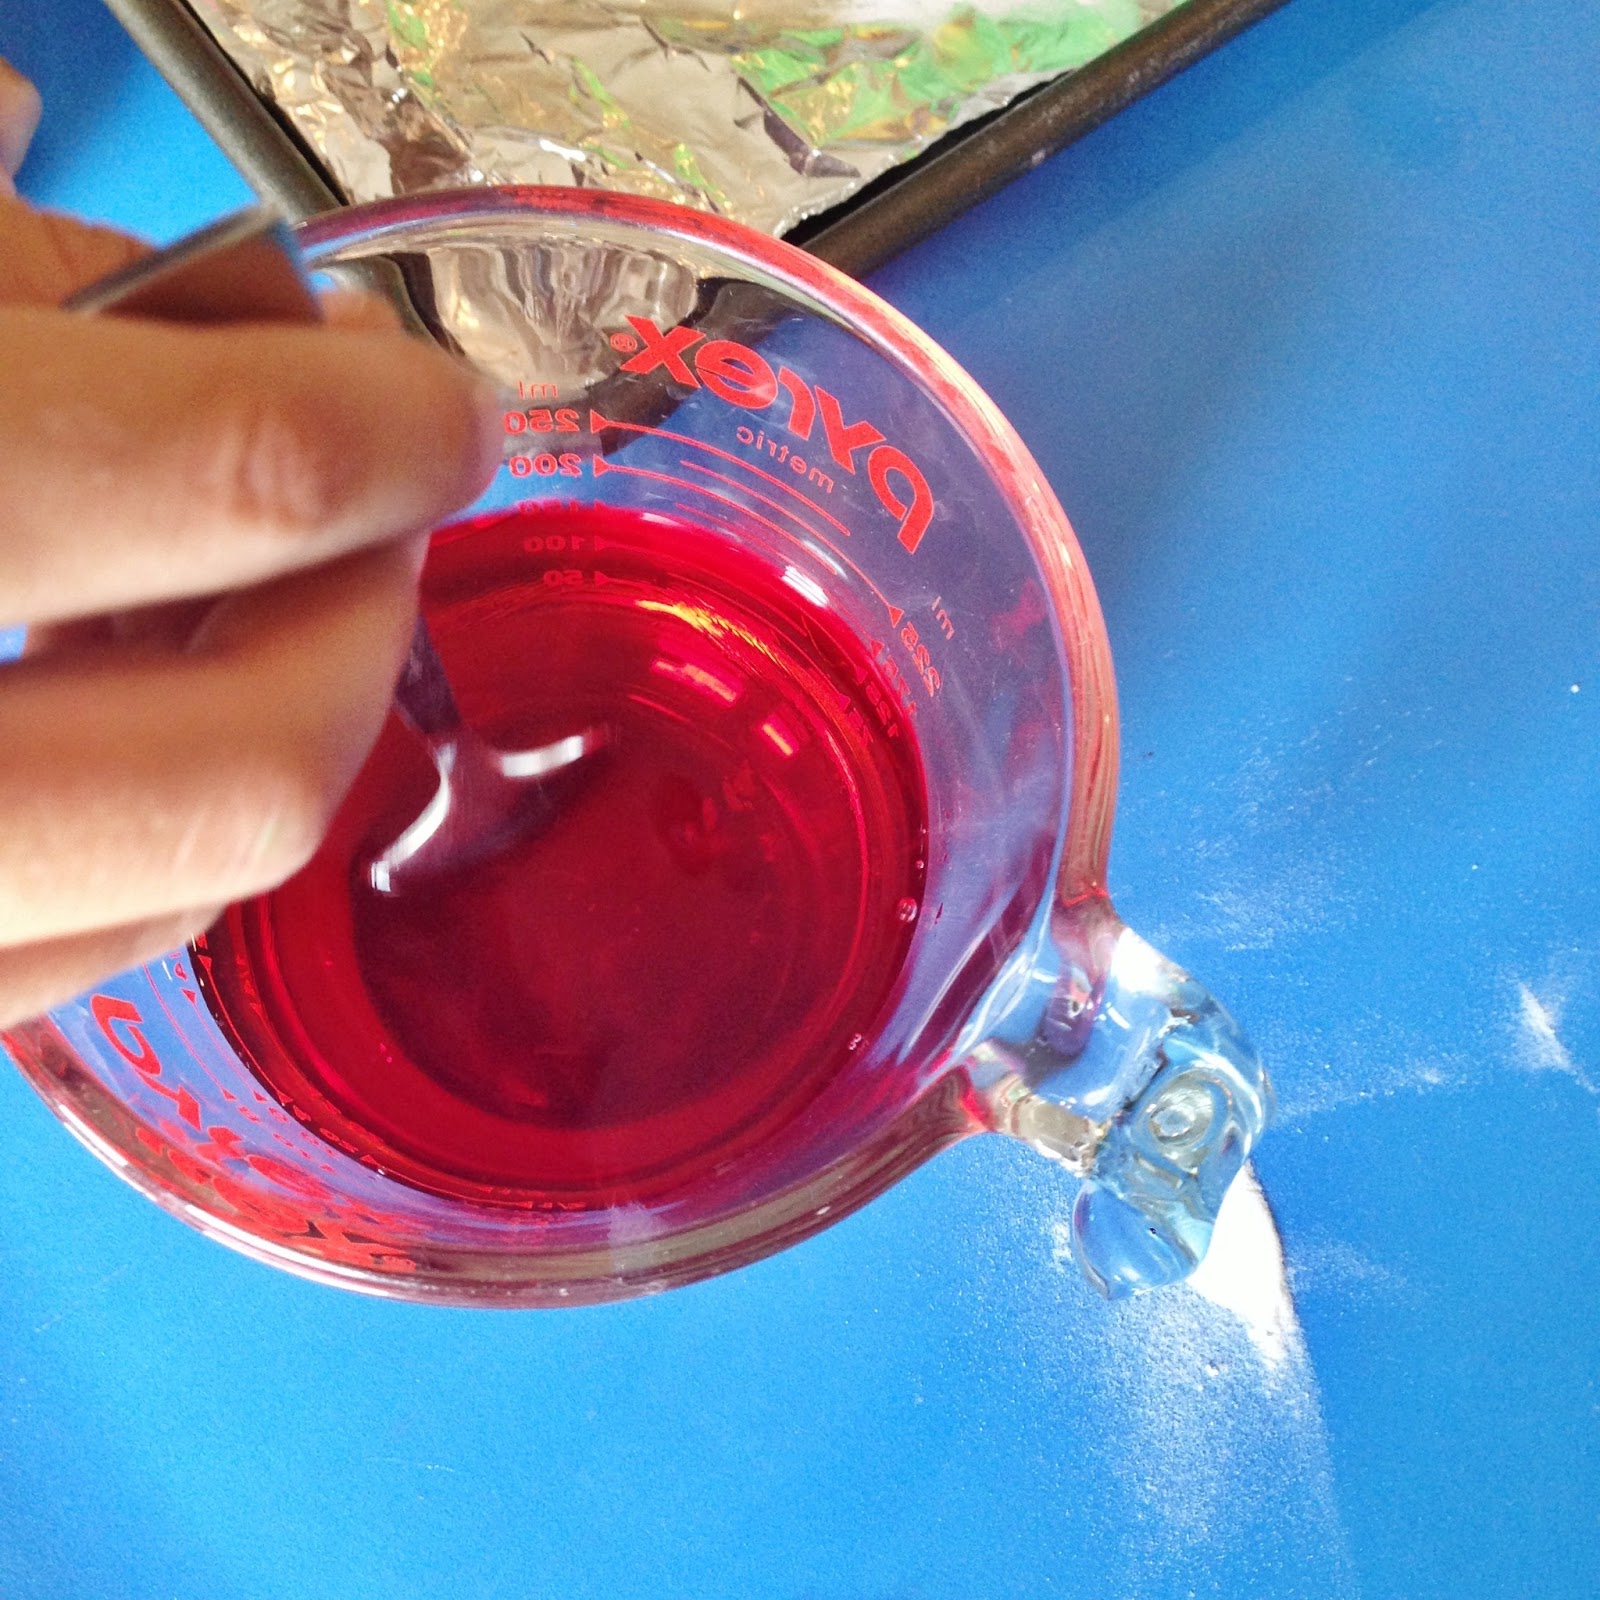
Then mix red food coloring into about 1 cup of vinegar to make the "Red Lava"
Hudson place some small toys around his volcano.
Then pour the vinegar into the volcano.
Watch the volcano erupt!
You should be able to pour the vinegar into the volcano a few times to make it erupt.
Then we added more baking soda to ours to do it a few more times.
Wednesday, March 13, 2013
DIY Water Bombs
Hudson has been asking to play with water all winter long and this week it is in the 90's, so I finally said yes! I looked on Pinterest for some ideas and decided we would make some water bombs. I found a tutorial HERE from House of Hepworths. These are really easy to make and the boys enjoyed helping.
Supplies:
-Basic sponges, in a variety of colors
-Small elastic hair ties
-Scissors
Step 1: cut all the sponges into fouths, lengthwise.
Step 2: Stack the sponges into 2 rows of 4. Hudson liked choosing the colors and creating patterns.
Step 3: Wrap the 2 rows with a small elastic hair tie or you could tie it tight at the center with fishing line.
*You will use 2 sponges to create 1 water bomb.
Water Bomb Game Ideas:
-Create a target with chalk on pavement and toss water bombs.
-Line up different size buckets worth different points and toss bombs into buckets. Keep score.
-Water bomb toss
-Water bomb tag
Friday, February 3, 2012
Homemade Bubble Valentine
Here is a kids valentine idea that is something other than candy. A bottle of bubbles (can be store bought or homemade) with a homemade heart bubble wand. The bubble wand I made from a pipe cleaner and a paper straw. It's amazing the things you begin to use paper straws for when you look at them everyday! If you are looking for paper straws you can find some in my shop HERE. I also have four different printables available below.
You can use store bought bottles of bubbles or fill small plastic jars with homemade bubbles. I colored my bubbles with food coloring. Just add a drop of food coloring, tighten the lid, and shake. You can find the "BUBBLES" label below, along with three labels options for the tops of the jars.
To make the Valentine's you will need the following:
- Bubbles in jars
- Labels printed on sticker paper
- Pipe cleaners
- Paper straws
- Baker's Twine
- Scotch tape
- Scissors
First cut your pipe cleaners and paper straws in half. You can make two wands from one of each.
Next bend the one end of the pipe cleaner around to make a circle and wrap end around pipe cleaner to hold in place. Then bend the pipe cleaner to create a heart shape.
Then push the pipe cleaner into the paper straw.
Use a small piece of tape to hold the bubble wand to the back of the bubble jar. Then tie with twine. I tested these out with Hudson and the paper straw does start to come apart after sitting in the bubbles for a while. But I think it adds a cute touch to the bubble want. You could make these without the straws too, and you can make small little bubbles by just dipping the end of the straw in the bubbles.
I also made some bigger wands by not cutting the straws and pipe cleaners in half.
Linking up HERE!
Tuesday, January 31, 2012
February Preschool Activities
Here are some preschool age activities to do with your kids at home during the month of February. These ideas are sent home each month with Hudson from his preschool. You could put these on a calender or fill a jar with each activity written on paper. Have your child choose an activity from the jar during the week.
- Help Mom and Dad find out if the groundhog saw his shadow
- Sing or say the days of the week to Mom and Dad
- Help with 2 chores around the house today
- Use crayons to make a rainbow. What colors did you use?
- Count as high as you can out loud
- Find the letter Rr in a story you read with Mom or Dad
- Count how many windows are in your house
- Practice cutting by making paper hearts
- Tell each member of your family why you love them
- Sort skittles by color
- Make a pattern with stickers
- Put shaving cream in a bag and practice making shapes
- Try a new food. Did you like it?
- Sort a handful of coins
- Have Mom or Dad make flashcards 1-15. How many do you know?
- Practice brushing and flossing your teeth
- Draw a picture of something that starts with the letter T
- Count how many doors are in your house
- Practice writing your name
- See what shapes you can find around the house
Wednesday, January 25, 2012
Growing Grass
Hudson and I planted grass seed the other day and I never took pictures when we started, but now that the grass is growing I thought I would post some. He gets so excited each morning when he sees how much is has grown, it's really cute! The seed took 3-4 days to start sprouting, but once it started it has not stopped! We used cat grass seed, but you could choose any kind you find. Rye grass seed also grows really fast, about 3-5 days. Here is what you'll need:
- Grass seed
- Empty baby food jar
- Potting soil
- Water
Have your child fill the jar with potting soil and following the directions for whichever grass seed you're planting, place the seeds in the soil. Place some more soil over top. Water the seeds and place in the sunlight, by a window. Watch and wait for it to grow!
It was fun to have it planted in the glass jar, because Hudson was able to see all of the roots from the grass growing throughout the soil.
Sunday, January 22, 2012
Cloud Dough
I made this cloud dough for Hudson to play with and got the recipe from Pre-School Play via I Can Teach My Child. All it is, is a mixture of flour and baby oil! It feels super soft in your hands and sticks together like wet sand would. Hudson pretended to make cupcakes and cakes with his, and I gave him some paper straws to use as pretend candles. I made a batch last week for him to play with outside in his sand table. Today I made a few batches for him to play with inside in a large bin on the floor.
You will need just flour, baby oil, and a container for mixing. I made smaller batches and used this Tupperware that already has the 32oz (4 cup) measuring marked. That made it easy to just fill to the line and add the baby oil.
Mix together:
4 Cups Flour
with
1/2 Cup Baby Oil
(easy to double or make as many batches as you need to fill a play tub)
Stir together until it looks like little crumbs and oil is absorbed. I used a spoon at first, then just mixed it with my hands.
I placed a large plastic bin on top of a vinyl tablecloth on out floor for Hudson to play with the dough in. Some of it made it to the red mat, but it was easy to pour it back into the bin when he was done.
I gave him an old muffin tin, cookie sheet, spoon, play cups, bowls, and some paper straws to use as pretend candles. I think you can make this activity new and different each time by changing out some of the play tools that they use with the dough.
Hudson had fun playing and Max liked feeling the cloud dough too, just had to make sure it didn't go in his mouth. I ended up making 3 or 4 batches of the cloud dough to fill his tub.
I made this label when I made some of the cloud dough as a gift. You can save the image and print onto card stock or I printed it onto labels. I put one on a gift tag and tied to a mason jar. Then I used another label to place on Hudson's Tupperware of cloud dough. Would be cute to use as a tag for party favors too. You can add the child's name onto one of the clouds.
Shaving Cream Art
This a fun kids craft using shaving cream and paint. Hudson's preschool class made these, however they did it when Hudson was out sick with chicken pox. So I thought I would try it at home! It reminded me of the Milk Art Craft I did with Hudson a while ago. However, with this one you are actually able to keep your designs on paper!
You will need:
Shaving cream, afew different colored paints, old cookie sheet or tray, white card stock paper, toothpicks, and a spatula.
First spray the shaving cream onto the cookie sheet.
Then spread it using the spatula to be about the size of your piece of paper.
Squeeze the paints onto the shaving cream. You can experiment with how you place them.
You can make dots, lines, or swirl is around. How you place the paint can change how your picture looks.
Using a toothpick swirl the paint around in the shaving cream.
It should look something like this!
Then place your paper on top of the designs. Press down gentle so all the paint touches the paper.
Peel the paper off and it will look like this. Using the spatula scrape the shaving cream off of the paper.
Then you will have your paper with the swirly designs on it! Let it dry and then you can use the paper for another fun craft.
Subscribe to:
Posts (Atom)