Showing posts with label paper straws. Show all posts

Thursday, January 12, 2012

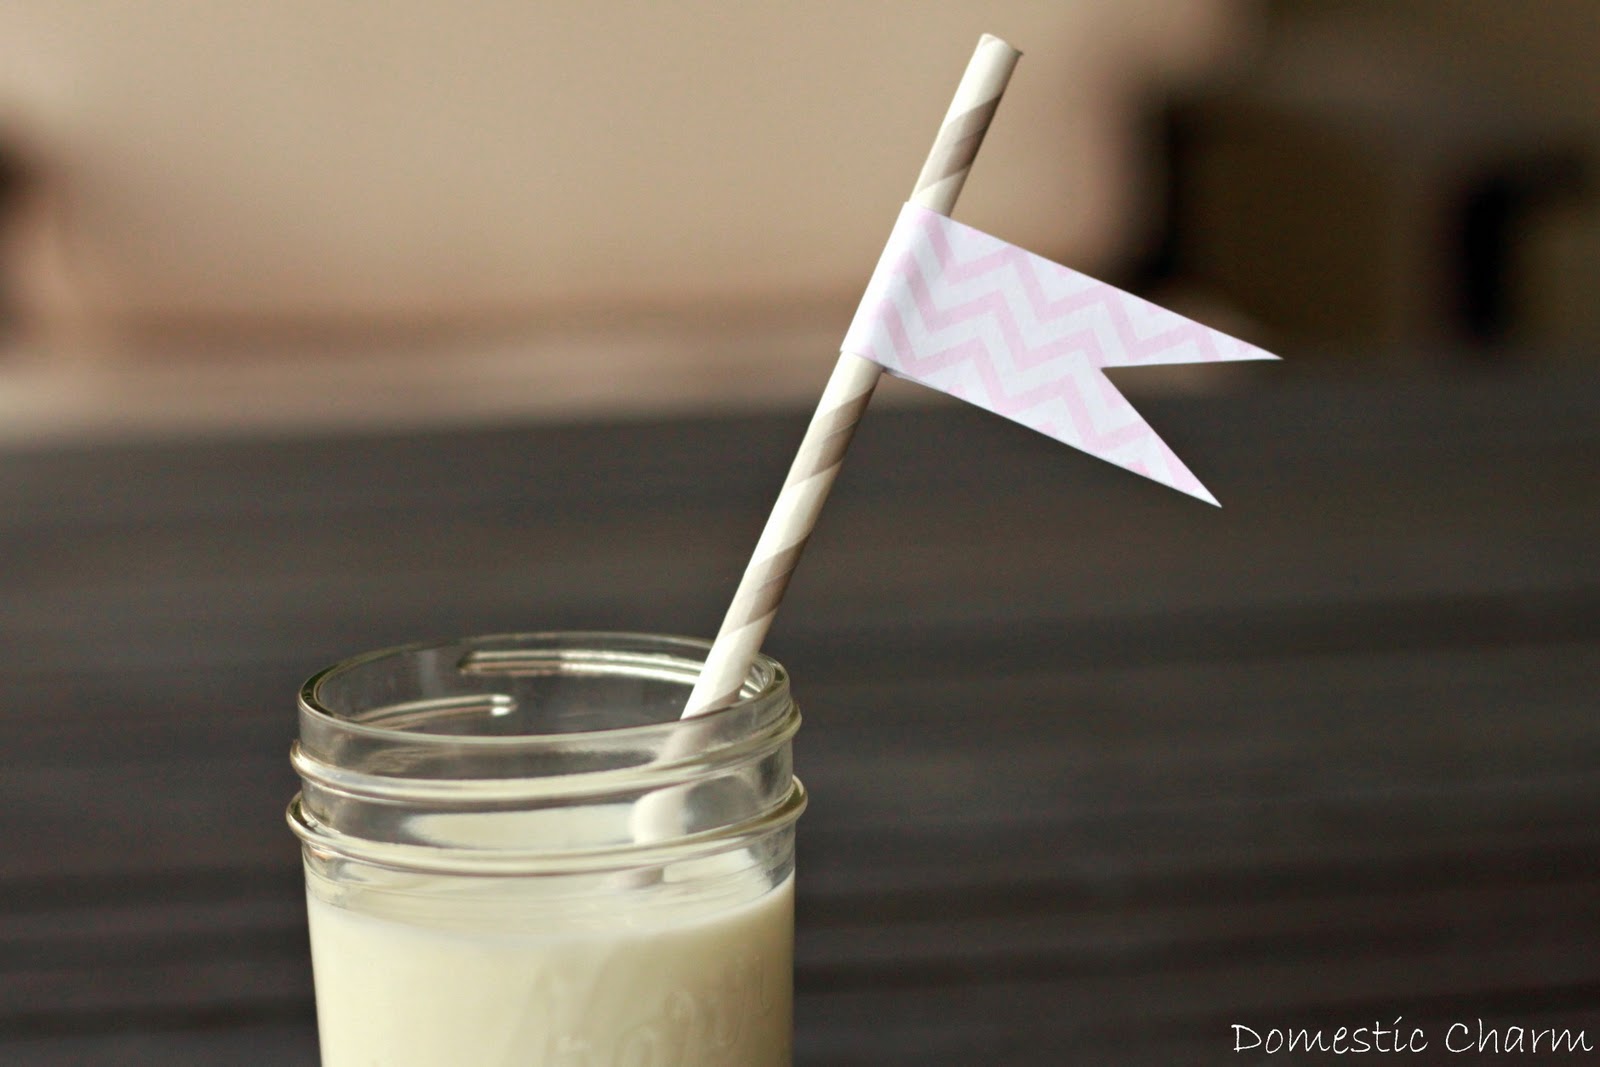
Free Printable Drink Flags

 I now offer free printable drink flags with the purchase of paper straws in my shop. The drink flags come in a pdf file that is e-mailed to you and can be printed at home. There are 24 different chevron colors available. I also offer a blank pdf file if you would like to print it on your own patterned or colored paper. The paper straws come in 22 different colors and designs.
You can visit my shop for more information.

Print the pdf file on a 8 1/2 x 11 piece of light to heavy weight card stock or photo paper. Cut out each drink flag.

 Wrap the flag around the straw and secure using a small amount of glue or tape. Let dry if using glue.

Tuesday, November 15, 2011

Hot Cocoa in a Jar

 I recently made these jars with hot cocoa mix in them to sell at some holiday boutiques. I think they would make great gifts for teachers, neighbors, or friends and family. I tied some paper straws to the jar with twine and put a tag on each jar with the directions on the backside. There are lots of homemade hot cocoa mix recipes online, so you can try out different ones. When I made mine I didn't write down a recipe, but the next batch I make I will make sure to write down my recipe!

 I added mini chocolate chips and mini marshmallows to half of the jars.

 Then I added crushed candy canes and mini marshmallows to the other jars to make a peppermint flavored hot cocoa. 


Thursday, October 27, 2011

Pumpkin Pie Pops


I decided to make some more pie pops, however, this time I tried using a pumpkin pie filling... and I put them on orange polka dot paper straws! I made them the same way I did before so you can visit my other post here to follow the step by step directions.

The only difference was that I used a pumpkin pie filling, and I made my filling a little bit thicker for the pie pops by not adding all of the evaporated milk that the recipe called for. I just used the recipe on the back of the canned pumpkin, however this is way too much filling for just pie pops! Unless you're planning on making hundreds of them. ;) I made about 12 pie pops and also used my filling to make mini pumpkin pies in a mini muffin tray and still had leftover filling. You could still fill a 9" pie crust really well after making 12 pie pops because you only use a very small amount of filling in each pie pop.

To make the mini pumpkin pies I cut circles from the pie crust just like I did for the pie pops, but placed them in the mini muffin trays using a pampered chef mini-tart shaper. Then filled each one with filling just below the top of the crusts. Bake at 350 degrees for 12-15 minutes.

Linking up HERE.

Sunday, October 23, 2011

New Paper Straw Colors


 Red Hearts


Lots of fun new colors to choose from in my shop! There are now 19 different styles and colors. I would also love to hear from you; what color and design would you like to see in my shop?

Tuesday, September 27, 2011

Cupcake Cake Pops

 I have seen lots of these cupcake cake pops online, but this was my first time making them. They weren't any harder then making regular cake pops, just required a couple extra steps. I think they were originally done by Bakerella here. To make them a little bit more fun I used striped paper straws instead of lollipop sticks. You can follow the steps below to learn how to make them.

Monday, September 26, 2011

Glass Milk Bottles


I love the look of the glass milk bottles for parties. And they look really cute with a paper straw in them! My friend Nicky from Hey Little Birdie gave me a great tip the other day! She used the Starbuck's frappuccino bottles to make her own glass milk bottles for her daughter's birthday party! So clever and a great way to save some money! You can even purchase a large case of them at Costco. I bought a small 4-pack of Chai Latte bottles from Target and it worked perfect for what I needed them for! If you're looking for some paper straws to place in them you can find them in my shop!

Sunday, September 4, 2011

Pink Ruffled Cake


I have seen lots of pictures of this pink ruffle cake on pinterest and made one for my friends little girl Payton. I also made one for Piper for her first birthday with a paper straw birthday candle. Martha Stewart has a recipe here for how to make a pink ruffle cake. There is even a great video you can watch that shows you how to make these adorable little ruffles...sometimes it is much easier to learn something like this by watching instead of reading. You can view the video here on You Tube by My Sweet and Saucy.

I made this one with 2 6" inch cakes and colored my butter cream frosting a pale pink color. Then I used a petal tip, #103 to create the ruffles. You start at the base of the cake with the thinner edge of the petal tip facing you. Then moving the tip back and forth you move up the cake. Creating columns of ruffles until you have gone all the way around the cake. Once you have covered the sides of the cake you can cover the top with ruffles or just frost the top smooth. If doing ruffles, start on the edge and circle around, again with the thin edge of the petal tip facing you. This is easier to do it you have the cake on a turn table. You do this until you reach the center and the whole cake is covered in cute little ruffles! It's really simple and easy to do!